

Table of Contents
- Why Mold Stains Sink Into Bathtub Caulk
- What You’ll Need Before You Start
- Step 1: Clean the Surface and Lift Surface Stains
- Step 2: Treat Stains That Have Gone Deeper
- When to Replace Bathtub Caulk Instead of Cleaning It
- How to Re-Caulk a Bathtub So Stains Don’t Return
- Preventing Mold in Toronto Bathrooms
- Conclusion
- Frequently Asked Questions
Last Updated: October 19, 2026
Why Mold Stains Sink Into Bathtub Caulk
Dark mold stains in bathtub caulk are more than a cleaning problem. The caulk is a silicone or latex seal, and over time it develops tiny pores and hairline gaps. Water and soap scum settle into those gaps, and mold grows below the surface where a sponge can’t reach.
That’s why scrubbing often makes no difference. The stain isn’t on the caulk. It’s inside it.
At Century BathTubs, we’ve seen this on thousands of tubs across Toronto and the GTA since 1995. In most cases, the homeowner has scrubbed for months before calling us. The caulk looks clean on top but stays black underneath.
Toronto’s humid summers and damp winters make it worse. Bathrooms here stay wet longer, and that gives mold more time to spread.
What You’ll Need Before You Start
Gather your supplies first so you’re not hunting for them mid-job. Here’s the short list:
- Rubber gloves and safety glasses
- A stiff nylon brush (not metal)
- Silicone or bathroom-grade caulk
- Caulking gun and smoothing tool
- Bleach or a mold-killing bathroom cleaner
- White vinegar
- Old towels and a bucket
- A utility knife and caulk removal tool (for replacement jobs)
Open a window or run the fan. Bleach fumes build up fast in a small bathroom. Give yourself at least an hour of work time and keep the tub dry for 24 hours after you finish.
Step 1: Clean the Surface and Lift Surface Stains
Start with the easy layer. Mix one part bleach to three parts water in a spray bottle. Spray the caulk line and let it sit for 10 to 15 minutes.
Then scrub with the nylon brush. Work along the seam in short strokes. Don’t press hard enough to tear the caulk.
Rinse with warm water and dry the area with a towel. If the stain fades but doesn’t disappear, it’s sitting deeper. Move to Step 2.
For light stains, a paste of baking soda and vinegar works well and is gentler on older caulk.
Test bleach on a small hidden patch of caulk first. Older caulk can discolor or break down when hit with strong bleach, and you’ll want to know that before you coat the whole seam.
Step 2: Treat Stains That Have Gone Deeper
Deep stains need longer contact time. Soak cotton balls or paper towels in bleach and press them along the stained caulk line. Leave them for 30 to 60 minutes.
Check the progress every 15 minutes. Pull the cotton off and rinse well when the stain lifts.
If the stain survives a full hour, the mold has grown under the caulk. No cleaner will fix that. This is the point where most people keep scrubbing for weeks and get nowhere.
Replace the caulk instead. It’s faster and it actually solves the problem.
Never mix bleach with vinegar or ammonia-based cleaners. The combination releases toxic gas. Use one product at a time and rinse between them.
When to Replace Bathtub Caulk Instead of Cleaning It
Replace bathtub caulk when the stain returns within a few weeks, when the caulk is cracked or peeling, or when it feels soft to the touch. Cleaning only works on surface stains. Once mold is under the seal, replacement is the only fix.
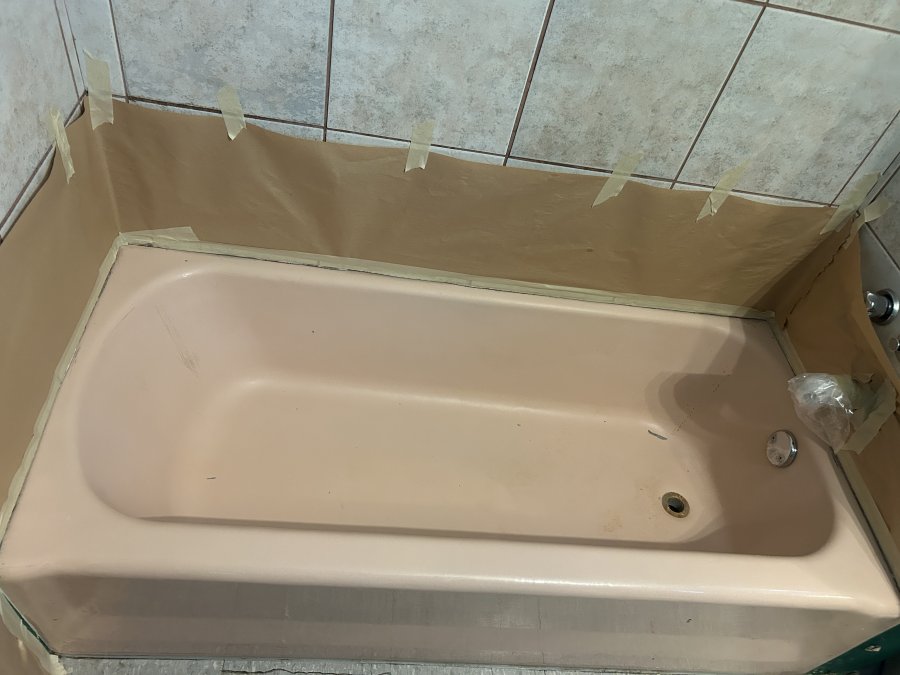
Use this decision path:
One more sign: if the caulk pulls away from the tub or wall when you press it, water is already getting behind it. That’s a replacement job, not a cleaning job.
If the wallboard behind the caulk feels soft or crumbles when you touch it, stop. That’s water damage, and it needs a professional look before you seal anything back up.
How to Re-Caulk a Bathtub So Stains Don’t Return
A clean caulk job starts with full removal. Cut out the old caulk with a utility knife and a removal tool. Scrape both edges of the seam until no residue is left.
Then clean the seam with rubbing alcohol and let it dry completely. Caulk won’t stick to a damp surface, and that’s the number one reason new caulk fails early.
Apply a steady bead of silicone caulk along the seam. Smooth it with a wet finger or a caulking tool in one pass. Don’t go back over it repeatedly.
Let it cure for 24 hours before the tub gets wet. Skip this step and you’ll be redoing the job within months.
The two things that make caulk last are a bone-dry surface before application and a full 24-hour cure. Most failed caulk jobs skip one of them.
Preventing Mold in Toronto Bathrooms
Preventing mold in Toronto bathrooms comes down to moisture control. Run the exhaust fan during every shower and for 20 minutes after. Wipe the caulk line dry with a towel a few times a week.
Here’s what actually helps:
- Leave the shower door or curtain open after use
- Fix drips and leaks right away
- Clean the caulk line monthly with vinegar
- Keep the bathroom fan clean so it moves air
Toronto’s climate makes this harder than in drier cities. Summer humidity pushes moisture into every corner, and older homes often have weak or missing fans. If your bathroom stays damp after a shower, that’s the root cause.
If mold keeps coming back even after a fresh caulk job, the surface underneath may be worn. A refinished tub with a smooth, sealed coating gives mold far less to grip. Century BathTubs uses an EP-ACRYLIC coating system that seals the surface and resists moisture buildup. We’ve offered a three-year hassle-free guarantee on that work since 1995.
Conclusion
Mold stains in bathtub caulk will keep coming back until you deal with the source. Clean surface stains, replace caulk that’s gone soft, and control the moisture that feeds the problem.
If the caulk line keeps staining or the tub surface itself is worn, refinishing may be the better fix. Century BathTubs provides licensed and insured bathtub and shower tile refinishing across Toronto and the GTA. Our EP-ACRYLIC coating system is fast-drying, costs less than replacement, and comes with a three-year hassle-free guarantee.
Get started with Century BathTubs and book a free inquiry for your bathroom today.
Frequently Asked Questions
Can you clean black mold off bathtub caulk or should you replace it?
It depends on where the mold sits. Stains on the surface of the caulk bead usually come off with a cleaner and a little scrubbing. Stains that sit under the caulk, or that keep returning within a few weeks of cleaning, mean moisture is getting behind the bead and the caulk needs to be cut out and replaced. If the caulk feels soft, lifts at an edge, or the wall behind it crumbles, stop cleaning and plan a full replacement.
What is the best household cleaner for moldy shower caulk in Canada?
A diluted bleach solution or a bathroom cleaner labelled for mold and mildew works on most surface stains on silicone caulk. For gentler cleaning, a paste of baking soda and water lifts surface film without harsh fumes. Always check the cleaner label for the surface it is approved for, open a window or run the exhaust fan, and never mix bleach with ammonia-based cleaners. If a stain survives two cleaning attempts, the caulk is the problem, not the cleaner.
How often should bathtub caulk be replaced to prevent mold?
Most bathtub caulk lasts roughly five to ten years when it is applied properly and the bathroom is ventilated well. Check the bead twice a year for cracks, peeling edges, or soft spots, and replace it as soon as you find them. In a busy rental or hotel bathroom, plan on the shorter end of that range because the caulk sees more water and cleaning.
Why does mold keep coming back on my bathtub caulk?
Mold returns when moisture stays trapped. Common causes are a loose or cracked caulk bead letting water behind it, a blocked or weak exhaust fan, and a shower curtain or door that keeps the tub area damp. Fix the ventilation and the caulk together. If the stain keeps returning after a proper re-caulk, have the surround checked for a hidden leak before you clean again.