

Quick Summary
If you reglaze a bathtub yourself, the result can range from a glossy, improved tub to peeling within months, depending mostly on how well you prep. Most failures come from skipped degreasing, poor ventilation, or rushing the cure. Following the coating label and allowing full cure time gives the best chance of success.
- Degrease and scuff the surface thoroughly, since skipped prep is the main cause of peeling.
- Ventilate the room well and wear a respirator, because coating fumes are strong.
- Apply thin, even coats rather than one heavy layer to avoid sagging and bubbling.
- Keep the room warm and dry, since cold or humid conditions slow curing.
- Wait the full cure time on the label before using the tub.
Table of Contents
- What Happens When You Reglaze a Bathtub Yourself
- Bathtub Reglazing Kit: What You Need Before You Start
- How to Prepare a Bathtub for Reglazing
- Applying the Coating and Managing Drying Time
- Bathtub Reglazing Mistakes That Cause Failure
- How Long Bathtub Reglazing Takes to Cure
- Deciding Between a DIY Reglaze and a Professional Refinish
- Frequently Asked Questions
5 Steps to Reglaze a Bathtub Yourself: Risks and Results
Last Updated: October 29, 2026
What Happens When You Reglaze a Bathtub Yourself
Thinking about reglazing your bathtub yourself? Many homeowners do, and the results can range from a smooth, glossy tub to a peeling mess within months. Century BathTubs restores worn tubs and shower tiles, so we know where DIY projects tend to go wrong.
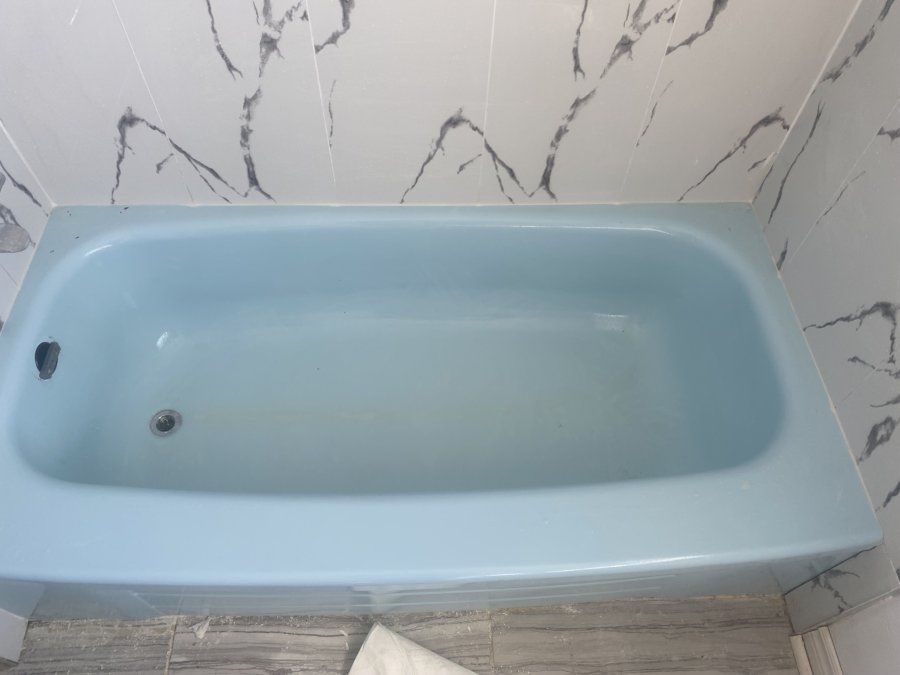
A DIY reglaze can work well when you prep carefully and follow the coating maker’s directions. Most failures come from skipped prep, poor ventilation, or rushing the cure. The good news is that these problems are avoidable with the right plan.
Here is what most homeowners can expect from a DIY attempt:
- A noticeable improvement in color and shine when the job goes well
- Strong fumes during application, so you need good airflow
- A cure time of several days before the tub is safe to use
- Possible uneven texture if the coating is applied too thick
- Less durability than a professional refinish, depending on prep quality
Reglazing your own tub is a real option, but it asks for patience and attention to detail. Read on to see what the work involves.
Bathtub Reglazing Kit: What You Need Before You Start
Before you open a single can, gather everything you need. A complete kit saves trips to the store mid-project, and it keeps you from cutting corners on prep.
Most DIY reglazing kits include the core coating materials. You will still need supporting supplies to finish the job well.
- Degreaser and tub cleaner, to remove soap scum and oils
- Fine abrasive scuff pads for light surface scuffing
- Painter’s tape and drop cloths to protect fixtures and floors
- A box fan or exhaust fan for ventilation
- Epoxy or acrylic coating kit with primer and topcoat
- Mixing cups, stir sticks, and a foam roller or brush
- Nitrile gloves, safety glasses, and a respirator rated for fumes
Check that your kit matches the material of your tub. Acrylic, fiberglass, and cast iron each need slightly different prep and coatings. Read the label before you buy.
How to Prepare a Bathtub for Reglazing
Prep is where most DIY reglazes succeed or fail. Take your time here, because the coating will only bond as well as the surface beneath it.
Start by cleaning the tub thoroughly with a degreaser. Scrub the walls, floor, and rim, then rinse with clean water and let it dry completely.
Next, scuff the surface with a fine abrasive pad. This gives the coating something to grip. Wipe away all dust before moving on.
Then repair any damage. Chips and small cracks should be filled and sanded smooth, since the coating will show every flaw.
- Clean, degrease, and rinse the entire tub
- Dry the surface fully, which can take several hours
- Scuff the finish lightly with a fine pad
- Vacuum and wipe away every bit of dust
- Mask fixtures, walls, and edges with tape
Skipping any of these steps is the fastest route to peeling.
Applying the Coating and Managing Drying Time
Once the tub is prepped, the application itself is straightforward. The key is working in thin, even layers and giving each layer enough time to set.
Ventilate the room before you mix anything. Open windows, run an exhaust fan, and wear your respirator the entire time. Fumes from epoxy and acrylic coatings are strong.
Apply the primer first, using thin coats with a foam roller. Follow the timing on the label between coats. Then apply the topcoat the same way.
Avoid the temptation to add extra coats for better coverage. Thick layers can sag, bubble, or take days longer to cure. Two thin topcoats usually look better than one heavy one.
Drying time varies by product and by room temperature. For a closer look at how long the finish takes to fully set, see the detailed cure-time guide. Keep the bathroom closed and warm, and do not use the tub until the label says it is safe.
Bathtub Reglazing Mistakes That Cause Failure
Most DIY failures trace back to a handful of common mistakes. Knowing them ahead of time helps you avoid them.
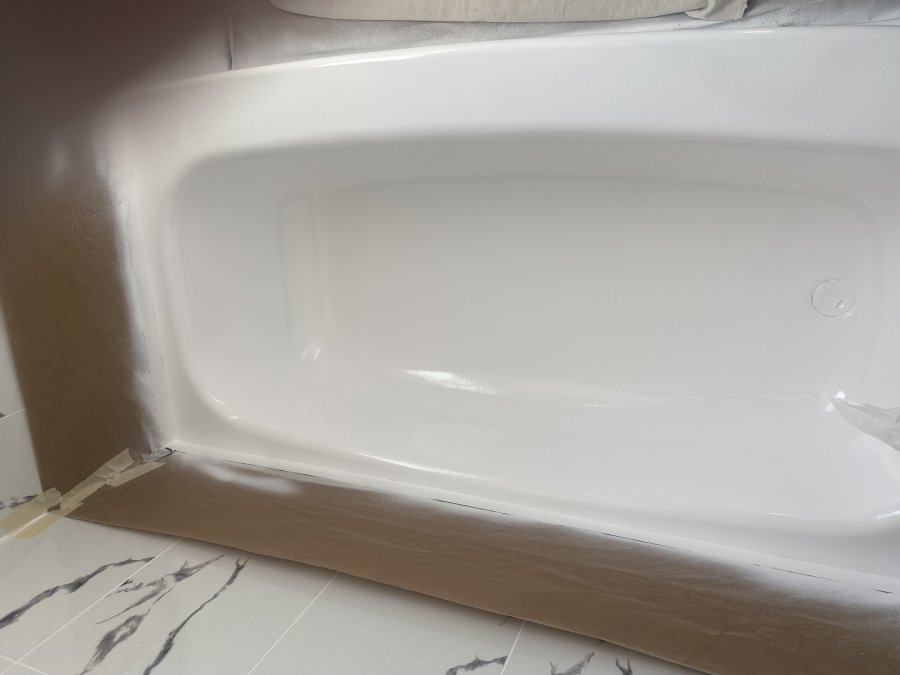
A common mistake is skipping the degreasing step because the tub “looks clean.” Invisible soap residue blocks adhesion, and the coating peels within weeks.
Another frequent error is applying the coating in a cold or humid room. Moisture and low temperatures slow curing and can leave a cloudy, soft finish.
People also rush the cure. Stepping into the tub too early can dent or scratch the surface before it hardens.
- Skipping or rushing the degreasing step
- Coating in a room that is too cold or damp
- Applying coats that are too thick
- Ignoring the recoat window on the label
- Using the tub before the cure time is complete
- Mixing the coating outside the recommended ratio
Each of these mistakes is easy to prevent with patience and close attention to the label.
How Long Bathtub Reglazing Takes to Cure
Curing is the stage that determines how durable your new finish will be. A tub can feel dry to the touch long before it is fully cured underneath.
Most DIY coatings need several days before light use and up to a week or more before heavy use. Always check the product label, because cure times differ between brands and formulas.
During this period, avoid soaking, scrubbing, or setting heavy items on the surface. Use lukewarm water when you first use the tub, and wipe it dry afterward.
Rushing this stage is one of the most common reasons a DIY finish fails early. Give the coating the full time it needs.
Deciding Between a DIY Reglaze and a Professional Refinish
A DIY reglaze costs less in materials, but it takes real time and carries the risk of a poor result. Some homeowners are happy with a DIY job, while others would rather hire out the work. To see what tub reglazing typically involves in Toronto and how the options compare, read the Toronto reglazing pricing guide.
A professional refinish usually brings controlled prep, better equipment, and a more consistent finish. Century BathTubs works with licensed, insured technicians and backs its work with a three-year hassle-free guarantee. Pricing depends on the size and condition of your tub, so request a free inquiry to get an accurate quote.
If you are weighing options, you can also compare bathtub painting in Toronto: DIY or hire a pro, which walks through durability and cost differences.
Choose DIY if you have time, patience, and a tub in good shape. Choose a professional if the tub has deep damage, if you need the job done quickly, or if you want a longer-lasting result.
Frequently Asked Questions
Can you reglaze a bathtub yourself?
Yes, a homeowner can reglaze a bathtub with a DIY kit, provided the surface is sound and the work is done carefully. Most of the result depends on preparation: the surface must be thoroughly cleaned, dulled and free of soap residue before any coating goes on. Ventilation matters too, because the coatings give off strong fumes. Work in a room with the door closed and the exhaust fan running, and follow the manufacturer’s instructions for temperature and humidity. If the tub has cracks, large chips or rust that has spread through the surface, a DIY kit will not repair the damage, and a professional assessment is the safer choice.
How long does bathtub reglazing take to cure?
Most reglazing coatings are dry to the touch within a day, but they need several days before they can handle normal use. Full curing generally takes 3 to 7 days, depending on the product, the room temperature and the humidity. Avoid running water, standing in the tub or using bath products during this period. Rushing the cure is one of the most common reasons a fresh finish scratches, dulls or peels early. Check the specific cure time on your kit’s label, because it varies between coating systems.
Is DIY bathtub reglazing worth it compared with hiring a professional in Toronto?
A DIY reglaze costs less in materials, but the true comparison includes your time, the risk of a failed finish and the cost of redoing the job. Professional refinishing usually includes equipment, a controlled spray environment and a warranty. Century BathTubs offers professional refinishing across Toronto and the GTA and backs its work with a three-year guarantee. For current pricing and availability, contact Century BathTubs directly for a quote. If the tub is in good structural condition and you are comfortable with careful prep work, a DIY project can make sense for a single tub.
What can go wrong when reglazing a bathtub?
The most common problems are peeling, bubbling, poor adhesion, uneven texture and early wear. These usually trace back to inadequate cleaning, skipping the abrasion step, applying coats too thick, working in cold or humid conditions, or using the tub before it has cured. Poor ventilation can also leave fumes behind and affect the finish. If the coating starts to lift within weeks of application, the surface was likely not prepared correctly. Fixing a failed finish typically means stripping the old coating before starting over, which adds time and cost.
Ready to skip the guesswork? Century BathTubs restores worn tubs with our durable EP-ACRYLIC coating system, backed by a three-year hassle-free guarantee. Request a free inquiry today and get your bathtub looking new again.
