


Table of Contents
- Why Surface Preparation Decides How Long Your Reglazing Lasts
- Tools and Materials You Need Before You Start
- How to Remove Silicone Caulk From a Bathtub
- How to Clean a Bathtub Before Refinishing
- Repairing Chips, Cracks, and Rust Spots
- Sanding, Etching, and Final Wipe-Down
- Bathtub Reglazing Drying Time Requirements
- Common Preparation Mistakes That Ruin a Tub Reglazing Job
- Frequently Asked Questions
Last Updated: September 29, 2026
Why Surface Preparation Decides How Long Your Reglazing Lasts
Most tub reglazing failures trace back to one thing: poor prep. The coating gets blamed, but the surface underneath was never ready to hold it.
Learning how to prepare tub for reglazing is the difference between a finish that lasts and one that peels within months. At Century BathTubs, we’ve refinished tubs across Toronto and the GTA since 1995, and prep is where every job is won or lost. Below, we’ll outline the general steps involved in preparing a tub for reglazing.
Prep work is not glamorous. It takes longer than the coating itself. But skip it, and you’ll pay for it later.
Here’s what most guides get wrong: they treat prep as a single step. It’s actually seven, and each one matters.
Prep is roughly 80% of a successful reglaze. If the surface isn’t clean, dull, and dry, even the best coating will fail early.
Tools and Materials You Need Before You Start
Gather everything first. Running out mid-job is the fastest way to cut corners.
Safety gear:
- Rubber gloves and safety glasses
- Respirator rated for solvents
- Old clothes you can throw away
Cleaning supplies:
- Silicone caulk remover
- Non-abrasive cleaner and a scrub pad
- Rags and a bucket
Repair and prep:
- Epoxy putty for chips and cracks
- Rust remover and sandpaper (120 and 400 grit)
- Etching cream or a sanding block
- Tack cloth and a solvent wipe
Tools:
- Caulk scraper or plastic putty knife
- Heat gun or hair dryer
- Shop vacuum
Buy two grades of sandpaper before you start. You’ll need coarse grit for rust and fine grit for the final pass. Most people only buy one and stall halfway through.
How to Remove Silicone Caulk From a Bathtub
Removing silicone caulk is the first real test of patience. It has to come off completely, or the new coating won’t bond at the edges.
Here’s the sequence that works:
- Soften the caulk with a heat gun on low, holding it a few inches away.
- Slide a plastic scraper under the edge and lift in one steady motion.
- For stubborn spots, apply a gel caulk remover and wait as directed.
- Scrape again, then wipe the area with a solvent.
- Vacuum up any loose bits.
Never use a metal blade. It gouges the surface and creates new repair work.
The seams around the drain and overflow are the trickiest. Take your time there. Health Canada’s household chemical safety guidance is worth a read before you handle solvent-based removers in a small bathroom.
How to Clean a Bathtub Before Refinishing
Knowing how to clean a bathtub before refinishing comes down to one rule: no soap film, no oils, no residue. The coating bonds to the surface, not to grime.
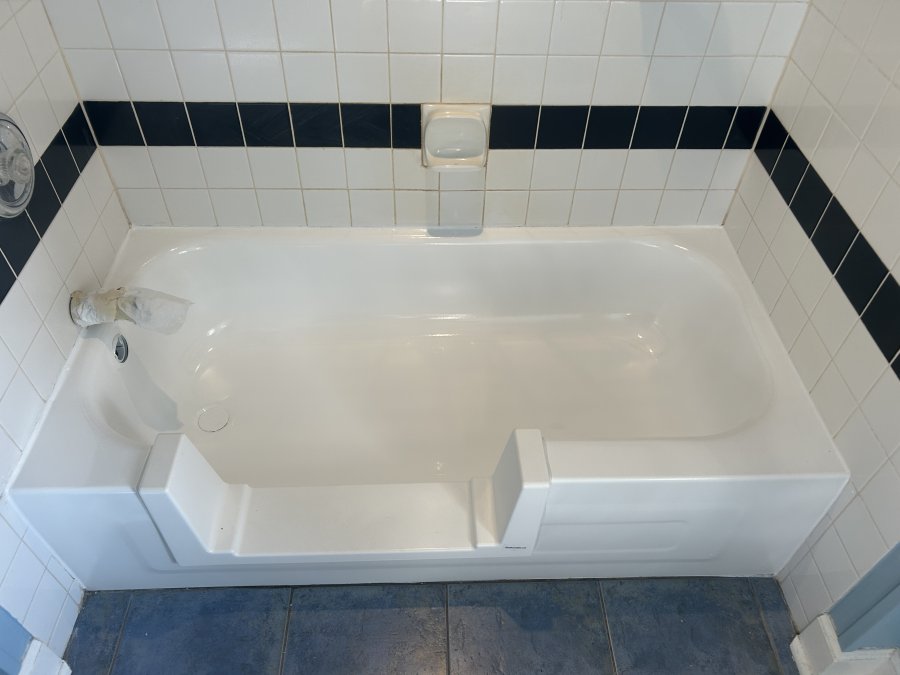
Work through these steps:
- Rinse the tub with warm water.
- Apply a non-abrasive cleaner and let it sit.
- Scrub the soap scum line with a nylon pad.
- Rinse thoroughly and repeat if the surface still feels slick.
- Dry the tub completely with a clean cloth.
Then wipe the whole surface with a solvent like denatured alcohol. This lifts oils your cleaner left behind.
Never use bleach-based or abrasive cleaners as a final step. They leave a film that stops the coating from bonding. The result is peeling within weeks.
Repairing Chips, Cracks, and Rust Spots
Damage repair is not optional. Any chip or crack left open will telegraph through the new finish.
Start by removing rust with a wire brush or sandpaper until you hit clean surface. Treat the spot with a rust remover, then rinse and dry. For chips and cracks, mix epoxy putty and press it into the damage. Overfill slightly, let it cure, then sand it flush.
Deep cracks in an old cast iron tub can look alarming. Many are repairable with the right filler and a skilled hand. A professional assessment can help determine the best course of action for your tub.
Sand repaired areas smooth. Run your hand over the spot. If you can feel a ridge, keep sanding.
Sanding, Etching, and Final Wipe-Down
This stage creates the “teeth” the coating grips. Skip it and you’re relying on hope.
Sanding: Scuff the entire surface with 400-grit paper. You’re not removing material, just dulling the shine.
Etching: For porcelain and enamel, an etching cream opens the surface at a microscopic level. Follow the product directions exactly and rinse well.
Final wipe: Vacuum all dust, then wipe with a tack cloth. Finish with a solvent wipe and let it flash off.
The surface should feel slightly chalky, not glossy. That’s your signal it’s ready.
Bathtub Reglazing Drying Time Requirements
Bathtub reglazing drying time requirements vary by product, but the stages are consistent. There’s a difference between dry to touch, dry to walk on, and fully cured.
Most coatings need several hours before light use and a full day or more before regular use. Full cure takes longer. Water exposure too soon is the most common cause of early failure.
Plan your bathroom around the timeline:
| Stage | Typical Wait | What You Can Do |
|---|---|---|
| Dry to touch | A few hours | Nothing, leave it alone |
| Light use | About 24 hours | Careful, minimal use |
| Full cure | Several days | Normal use, gentle cleaning |
Always follow the coating maker’s spec.
Common Preparation Mistakes That Ruin a Tub Reglazing Job
The same handful of mistakes sink most DIY reglazing jobs. Here’s what to avoid.
- Leaving caulk residue in the seams. New coating lifts at the edges.
- Skipping the solvent wipe. Oils from cleaners stop the bond.
- Not repairing cracks first. Damage shows through the finish.
- Rushing the dry time. Water contact too early causes peeling.
- Using abrasive cleaners afterward. They scratch the fresh surface.
If you’d rather not gamble on prep, that’s where a pro earns their keep. Century BathTubs uses a durable EP-ACRYLIC coating system and backs every job with a three-year hassle-free guarantee. Our licensed and insured technicians handle the refinishing process.
For homeowners across Toronto and the GTA, a professional refinish is often far more affordable than a full tub replacement. It extends the life of your fixture and keeps your bathroom usable with minimal downtime.
Searching for tub reglazing near me? Start with prep you can trust.
Frequently Asked Questions
Do I need to remove old caulk before bathtub reglazing?
Yes. Caulk traps moisture and prevents the coating from bonding to the tub surface. If it stays in place, the new finish can lift along the caulk line within months. Cut it out with a utility knife, scrape the residue with a plastic scraper, then wipe the seam with denatured alcohol. Check the joint again after sanding, since some caulk hides under the rim.
How long does a bathtub need to dry before reglazing?
The tub surface must be completely dry before any coating goes on. After the final rinse, wait at least 24 hours with a fan running and the bathroom door open. Any moisture left in cracks or around the drain will cause bubbling and peeling. Bathtub reglazing drying time requirements also apply after the job: most coatings need 24 to 48 hours before light use and several days before full use.
Can I reglaze a bathtub that has been previously painted?
It depends on the condition of the old coating. Peeling or flaking paint must be stripped or sanded back to the original surface, because new reglazing will not stick to a failing layer. If the previous finish is intact and well bonded, it can sometimes be scuffed and used as a base. A technician can test adhesion in one spot before committing to the full job.
What cleaning products should I avoid before tub refinishing?
Skip anything oil-based, including bath oils, some abrasive creams with lanolin, and silicone-containing cleaners. These leave a film that repels the coating. Avoid bleach-heavy products on cast iron, since they speed up rust. Stick to an abrasive cleaner for soap scum, then rinse and wipe with denatured alcohol or a dedicated prep solvent. Let the surface dry fully before the next step.
Prep work decides whether your reglaze lasts three years or three months. If you want that finish to hold, the surface has to be clean, repaired, and properly etched before any coating goes on. Century BathTubs has handled this work since 1995, and our team brings the EP-ACRYLIC coating system, licensed and insured technicians, and a three-year hassle-free guarantee to every job. Get started with Century BathTubs and give your tub a finish built to last.