

Table of Contents
- Why Preparation Matters for Tub Refinishing
- Clear Personal Items and Fixtures from Your Bathroom
- How to Remove Old Bathtub Caulk Before Refinishing
- Protect Surrounding Surfaces and Fixtures
- Understand Bathroom Ventilation Requirements for Reglazing
- Know the Bathtub Refinishing Process Duration and Timeline
- Final Preparation Checklist Before Your Appointment
- Frequently Asked Questions
Last Updated: September 24, 2026
Why Preparation Matters for Tub Refinishing
Proper preparation is the foundation of a successful bathtub refinishing project. When you prepare your bathroom for tub refinishing, you protect your belongings, ensure the refinishing crew can work efficiently, and help guarantee the best possible results. Most homeowners don’t realize that poor preparation can delay the job by hours or even force rescheduling.
At Century BathTubs, we’ve seen firsthand how the right prep work makes the difference between a smooth process and unnecessary complications. The refinishing process requires access to your entire tub and surrounding areas. Clutter, personal items, and unprotected fixtures create obstacles that slow down our technicians and increase the risk of accidental damage.
Think of preparation like clearing the stage before a performance. Your bathroom is the stage, and the refinishing crew needs room to work safely and effectively. When everything is in place before they arrive, the job typically moves faster and the results look better.
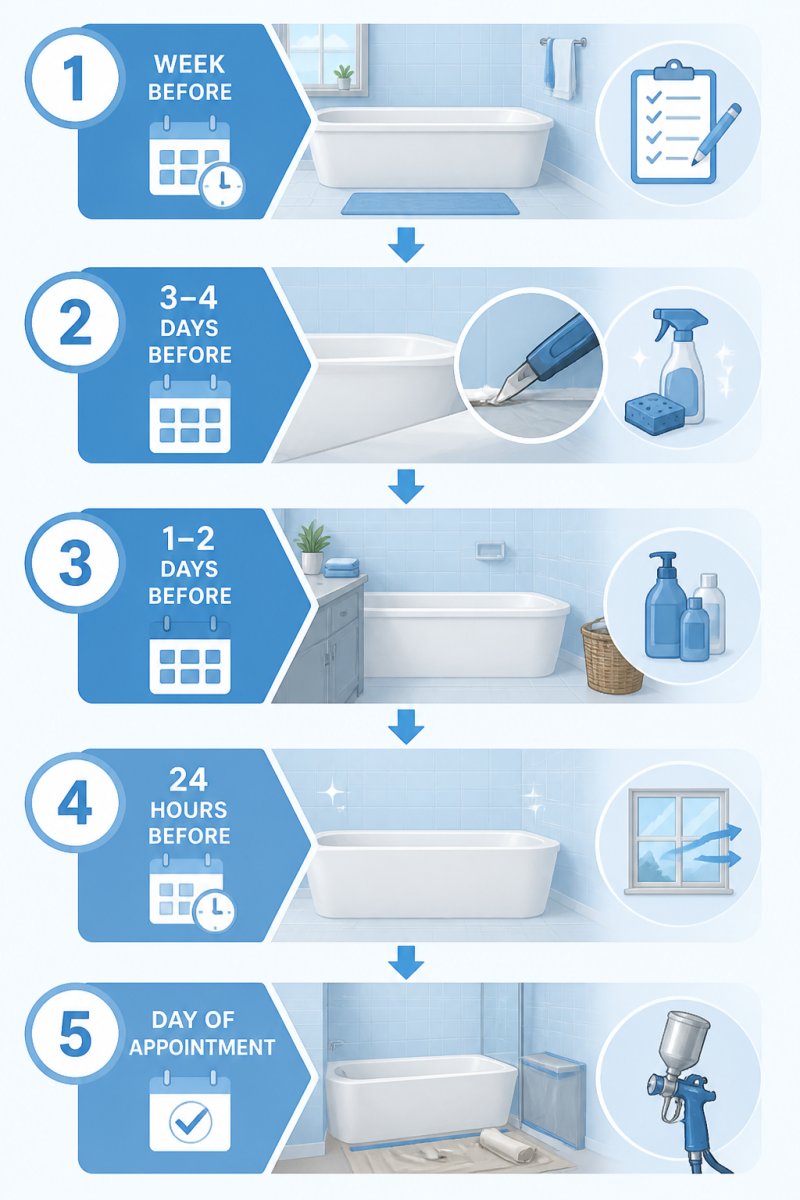
Start your preparation at least one week before your scheduled appointment. This gives you time to handle each task without rushing through any steps.
Clear Personal Items and Fixtures from Your Bathroom
The first step in how to prepare your bathroom for tub refinishing is removing everything from the bathroom that isn’t permanently attached. This includes towels, bath mats, shower curtains, soap dispensers, and any items stored on shelves or the toilet tank.
Personal care products need to go too. Shampoo bottles, conditioner, body wash, razors, and toothbrushes should all be removed and stored elsewhere. These items can be damaged by the refinishing chemicals, and they take up valuable space your technicians need to work.
Don’t forget about decorative items. Artwork, mirrors that aren’t built into the wall, and small plants should be relocated. Even picture frames on the windowsill can get in the way or suffer damage during the refinishing process.
Remove the toilet seat if possible. Some bathroom refinishing setups require access around the toilet, and a removable seat gives your crew more flexibility. If your seat is permanently attached, let your technician know when they arrive.
Items to remove:
- Towel racks and towels
- Bath mats and rugs
- Shower curtains and liners
- Soap dispensers and bottles
- Toothbrushes and holders
- Decorative items and artwork
- Small furniture or storage units
How to Remove Old Bathtub Caulk Before Refinishing
Removing old bathtub caulk is one of the most important steps in how to prepare your bathroom for tub refinishing. Caulk buildup traps moisture and can prevent the new refinishing coating from adhering properly to the tub surface. Old, cracked, or moldy caulk must be completely removed before refinishing begins.
Start by using a caulk removal tool or a plastic putty knife to gently scrape away the existing caulk. Work slowly and carefully to avoid scratching the tub surface. If the caulk is stubborn, apply a caulk softener product to the seams and let it sit for 15-20 minutes before scraping again.
For caulk that’s particularly difficult to remove, a caulk removal solution can help break down the adhesive. Follow the product instructions carefully. Some solutions require longer soaking times, while others work quickly. Always ensure the bathroom is well-ventilated when using any chemical products.
Once you’ve removed as much caulk as possible, clean the seams thoroughly with a damp cloth. Let the area dry completely. Any remaining caulk residue or moisture can interfere with the refinishing process, so take time to ensure the seams are clean and dry.
Never use a metal scraper on acrylic or fiberglass tubs; you can scratch the surface permanently. Stick to plastic tools and gentle pressure.
Caulk removal steps:
- Use a plastic putty knife or caulk tool
- Apply caulk remover if needed
- Scrape gently and slowly
- Clean seams with a damp cloth
- Allow area to dry completely
Protect Surrounding Surfaces and Fixtures
When preparing your bathroom for tub refinishing, protecting surrounding surfaces is critical. The refinishing process involves spray application of coating materials that can settle on nearby surfaces. Your walls, flooring, and fixtures need protection from overspray and accidental drips.
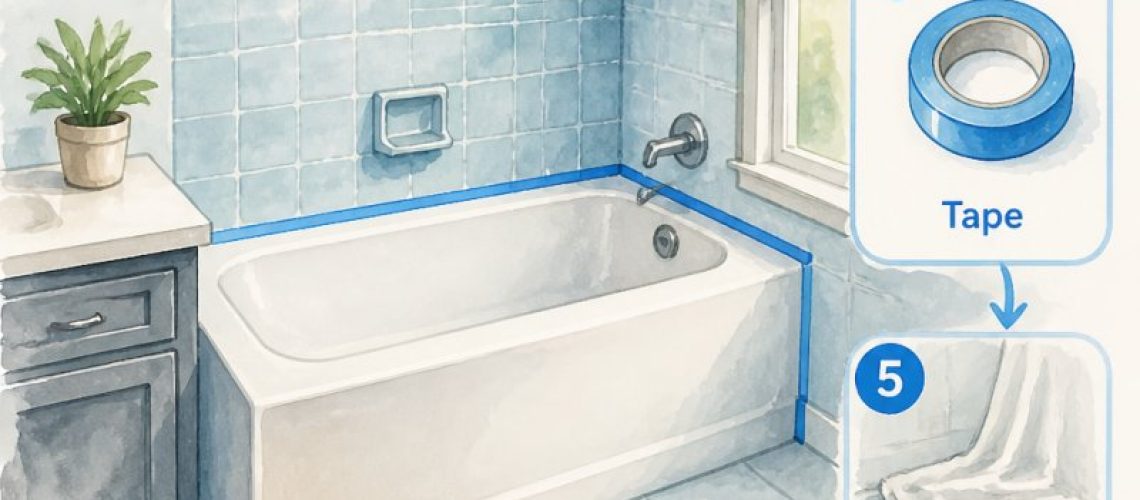
Cover the bathroom floor with plastic sheeting or drop cloths. Tape the edges down securely so the covering doesn’t shift during the work. The floor protection should extend sufficiently beyond the tub area to catch any overspray.
Protect your bathroom walls with plastic sheeting as well. Tape it carefully to create a barrier between the tub and the wall surfaces. Pay special attention to areas directly above and to the sides of the tub where overspray is most likely to occur.
Your toilet, sink, and any fixtures near the tub should be covered with plastic bags or plastic sheeting. Secure the covering with painter’s tape so it stays in place throughout the refinishing work. This includes faucet handles, soap dispensers that are permanently installed, and light fixtures.
Windows should be covered from the inside with plastic sheeting. Tape the edges securely. This protects the glass from overspray and also helps contain fumes during the refinishing process.
Protection checklist:
- Floor: plastic sheeting, taped down
- Walls: plastic barrier around tub
- Toilet and sink: covered with plastic bags
- Faucets and handles: wrapped or covered
- Windows: plastic sheeting, taped
- Light fixtures: covered if close to tub
Understand Bathroom Ventilation Requirements for Reglazing
Proper ventilation is essential when you prepare your bathroom for tub refinishing. The refinishing process releases fumes that need to be removed from your home. Without adequate ventilation, these fumes can accumulate and create health and safety concerns. According to Health Canada, proper ventilation is crucial when using chemicals in enclosed spaces to minimize exposure risks.
Your bathroom exhaust fan should be in good working condition before the refinishing crew arrives. Test it beforehand to make sure it runs properly and actually pulls air out of the room. If your exhaust fan isn’t working, have it repaired or replaced before your appointment.
Open windows in your bathroom if possible. Even a small opening allows fresh air to enter while the exhaust fan removes fumes. If your bathroom doesn’t have windows, the exhaust fan becomes even more critical for proper air circulation.
During the refinishing process, bathroom ventilation requirements for reglazing mean your technician may need to keep doors open to other rooms to improve air circulation. Don’t be surprised if they request access to adjacent rooms or ask you to open windows elsewhere in your home. This is normal and necessary for safety.
After the refinishing work is complete, ventilation remains important. Keep your exhaust fan running and windows open for several hours to allow any remaining fumes to dissipate. Your technician will give you specific guidance on how to maintain ventilation after they finish.
A working exhaust fan is your best defense against fume buildup. Test it days before your appointment so you have time to fix any issues.
Know the Bathtub Refinishing Process Duration and Timeline
Understanding how long the bathtub refinishing process duration takes helps you plan your day and manage expectations. The actual refinishing work typically takes 4-6 hours, depending on your tub’s size and condition. However, you’ll need to plan for additional time before and after the work begins.
Your technician will arrive and spend 30-45 minutes assessing the tub and setting up their work area.
Timeline breakdown:
- Setup and assessment: 30-45 minutes
- Surface preparation: 1-2 hours
- Coating application: 1-2 hours
- Total appointment time: 5-7 hours
- Curing time before use: 24-48 hours
Final Preparation Checklist Before Your Appointment
Use this checklist to ensure your bathroom is ready for refinishing. Going through each item helps prevent delays and ensures the crew can work efficiently. Complete these tasks within 24 hours before your scheduled appointment.
Bathroom access and clearance:
- Remove all personal items from bathroom
- Clear bathroom of unnecessary furniture
- Ensure clear path from entry to bathroom
- Remove shower curtain and liner
- Remove toilet seat if removable
- Clear windowsills and shelves
Surface preparation:
- Remove old caulk from tub seams
- Clean tub thoroughly and let dry
- Wipe down walls around tub
- Remove soap scum and hard water stains
- Ensure all surfaces are dry
Protection setup:
- Lay plastic sheeting on floor
- Tape floor protection securely
- Cover walls with plastic barrier
- Wrap toilet and sink
- Cover light fixtures near tub
- Cover or close windows
Ventilation check:
- Test exhaust fan operation
- Ensure fan is clean and unobstructed
- Plan to keep windows open during work
- Arrange for air circulation in adjacent rooms
Final confirmation:
- Confirm appointment date and time
- Arrange for someone to be home
- Clear parking space if needed
- Prepare to keep family out of bathroom
- Have contact information ready
Frequently Asked Questions
Do I need to remove the plumbing fixtures before tub refinishing?
Most plumbing fixtures like faucets and drain covers do not need full removal. Your refinishing technician will work around them and protect them with tape and coverings. However, removable items such as soap dispensers, shelving, or grab bars should be taken off the wall. Ask your technician about any specific fixtures in your bathroom when you book your appointment.
How long does the bathroom need to be ventilated after reglazing?
Proper ventilation is critical during and after the refinishing process. Keep bathroom doors and windows open, and run exhaust fans continuously for at least 24 hours after the coating is applied. This allows fumes to dissipate safely and helps the coating cure properly. Ensure your bathroom has adequate air circulation to meet ventilation requirements for reglazing and protect your health during the drying period.
How do I protect my bathroom floors and vanity during the refinishing process?
Your refinishing technician will lay down protective coverings on floors, vanities, and adjacent surfaces. Before they arrive, remove clutter from around the tub and clear the floor of rugs or mats. Close cabinet doors under the sink and cover any items stored there. This allows technicians to work efficiently and minimizes the risk of accidental splashes or damage to your belongings during the bathtub refinishing process.
Should I remove old caulk before professional tub refinishing?
Yes, removing old bathtub caulk is an important preparation step. Old, cracked, or moldy caulk should be carefully removed before the refinishing process begins. Use a caulk removal tool or utility knife to scrape it away, then clean the area thoroughly. Removing old caulk ensures the new coating bonds properly and prevents moisture from getting trapped underneath, which extends the life of your refinished tub.