

Table of Contents
- Why Proper Preparation Matters Before Reglazing
- Bathtub Reglazing Preparation Tools You’ll Need
- Cleaning Bathtub Before Refinishing: A Complete Process
- How to Remove Old Caulk From Bathtub
- Material-Specific Preparation: Acrylic vs. Porcelain Enamel
- How Long Does Bathtub Reglazing Last and Maintenance Prep
- Common Mistakes to Avoid When Preparing for Reglazing
- Final Inspection Before Professional Reglazing
Last Updated: July 10, 2026
Why Proper Preparation Matters Before Reglazing
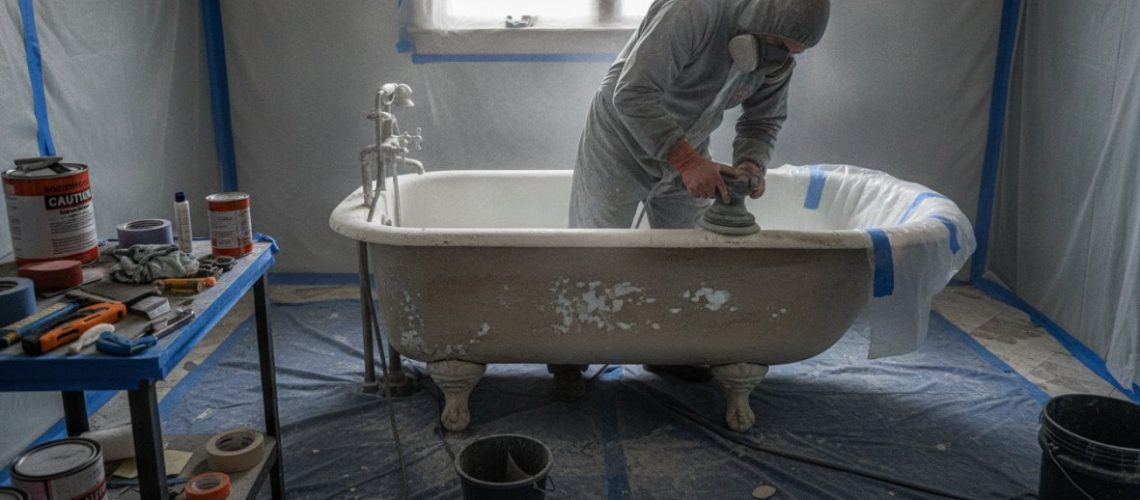
Understanding how to prepare bathtub for reglazing is the foundation of a successful refinishing project. When a bathtub isn’t properly cleaned and prepped, the new coating won’t adhere correctly, leading to peeling, bubbling, and premature failure within months.
The reglazing process involves applying a durable EP-ACRYLIC coating system over your existing tub surface. That coating bonds to whatever it finds underneath. If you leave soap scum, hard water deposits, rust stains, or mineral buildup on the surface, the new finish will separate from those contaminants rather than from the tub itself. Proper preparation means removing all contaminants, addressing damage, and ensuring the tub is completely dry. The time you invest directly determines how long your reglazing will last and how professional the final result will look.
Bathtub Reglazing Preparation Tools You’ll Need
Essential Cleaning Supplies
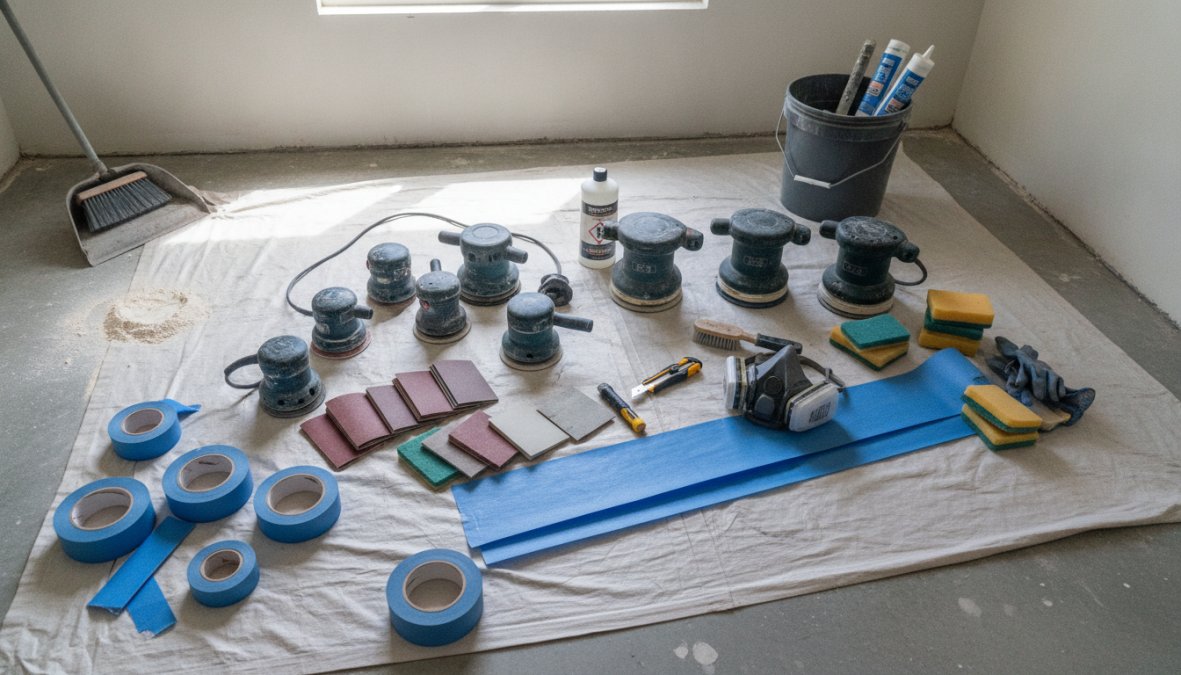
Before you start cleaning your bathtub before refinishing, gather the right tools. White vinegar and baking soda form the foundation of most preparation routines. Vinegar cuts through soap scum and mineral deposits, while baking soda provides gentle abrasive action without scratching acrylic or porcelain enamel surfaces. You’ll need a spray bottle for the vinegar, a small bowl for mixing paste, and clean cloths or sponges for application.
For hard water stains and stubborn mineral buildup, Bar Keepers Friend or CLR (Calcium, Lime, Rust remover) works effectively. These commercial cleaners target specific stain types that household remedies struggle to remove. A non-scratch scrub pad or soft-bristled brush prevents surface damage while removing deposits. A spray bottle filled with clean water allows you to rinse between applications, and old towels or rags absorb excess moisture.
Safety Equipment
Proper safety gear protects you from chemical exposure and splashing. Rubber or nitrile gloves are essential, and safety glasses prevent splashes from reaching your eyes, particularly important when working with CLR or other commercial products. Ensure good ventilation by opening windows and doors. If using CLR or similar products, a respirator or N95 mask provides additional protection from fumes.
Cleaning Bathtub Before Refinishing: A Complete Process
Step 1: Remove Surface Debris and Soap Scum
Start by removing loose debris, hair, and surface-level soap buildup with a damp cloth or soft sponge. For soap scum, spray affected areas with white vinegar and let it sit for 5-10 minutes. Scrub gently with a soft-bristled brush using circular motions, then rinse thoroughly.
Create a baking soda paste by mixing three parts baking soda with one part water. Apply to remaining soap scum or discolored areas and let it sit for 10-15 minutes. Scrub gently and rinse completely. This two-step approach handles most soap scum without requiring harsh chemicals.
Step 2: Apply Deep Cleaning Solution
Mix equal parts white vinegar and water in a spray bottle and spray the entire tub surface. Let it sit for 15 minutes, then scrub with a soft-bristled brush, paying special attention to corners, the drain area, and around fixtures. Rinse thoroughly before moving to the next section.
For tubs with significant buildup, apply Bar Keepers Friend according to package directions. Dampen the tub, sprinkle the cleanser on the surface, and let it sit for 5-10 minutes. Scrub gently with a damp cloth, then rinse extremely thoroughly. Bar Keepers Friend leaves a residue if not completely rinsed, which interferes with coating adhesion.
Step 3: Address Hard Water Deposits and Mineral Buildup
Hard water stains and mineral deposits require targeted treatment. White vinegar addresses lighter deposits; spray, wait 15 minutes, and scrub. For severe mineral buildup, CLR provides faster results. When using CLR, follow manufacturer’s instructions precisely and rinse immediately and repeatedly.
For acrylic tubs with mineral buildup, stick with vinegar and baking soda approaches before resorting to CLR. If CLR becomes necessary, test it on an inconspicuous area first. After addressing mineral deposits, do a final vinegar rinse by spraying the entire tub, waiting 5 minutes, and rinsing thoroughly.
How to Remove Old Caulk From Bathtub
Identifying Damaged Caulk
Caulk around the tub edges and fixtures often deteriorates before the tub itself. Look for cracks, gaps, mold growth, or separation from the tile or wall. Discolored or darkened caulk indicates mold or mildew penetration. Any damaged caulk must be removed before reglazing, as it interferes with the coating application.
Removal Techniques and Tools
Use a caulk removal tool or flathead screwdriver to carefully pry out old caulk. For stubborn caulk, apply a caulk softener product 15-30 minutes before removal. Once you’ve removed the bulk of the caulk, use a utility knife to scrape away remaining residue. Clean the caulk line with vinegar and a soft brush to remove any remaining material.
Allow the area to dry completely before the reglazing technician arrives. Moisture trapped in the caulk line prevents proper coating adhesion. Use a clean cloth to dry the area thoroughly, and consider using a hairdryer on a low setting if the area seems damp.
Material-Specific Preparation: Acrylic vs. Porcelain Enamel
Acrylic and porcelain enamel tubs require slightly different preparation approaches. Acrylic is more porous and sensitive to harsh chemicals and abrasive tools. Avoid CLR, pumice stones, and aggressive scrubbing, which can cause permanent scratching or chemical damage. Focus on thorough rinsing, as acrylic is more porous and residual cleaning solution lingers longer.
Porcelain enamel tubs are more durable and can handle stronger cleaning solutions. Bar Keepers Friend and CLR work well on porcelain, and a soft-bristled brush provides more aggressive cleaning without risk of damage. Avoid steel wool or wire brushes, which can scratch the enamel.
Both materials require complete dryness. Use clean towels to remove standing water, then allow the tub to air dry for at least 2-4 hours before the reglazing technician arrives.
How Long Does Bathtub Reglazing Last and Maintenance Prep
With proper application and care, bathtub reglazing typically lasts 5-10 years. The preparation phase directly impacts how long the coating lasts; poor prep work cuts the lifespan significantly. The EP-ACRYLIC coating system creates a durable, glossy surface that resists chipping and staining, but its longevity depends on proper surface preparation.
The first 24-48 hours after application are critical; the coating is still curing and shouldn’t be exposed to water or harsh cleaning. After the cure period, gentle cleaning with mild soap and water maintains the finish. Avoid abrasive scrubbers, vinegar, and acidic cleaners on the new surface. Regular maintenance extends the reglazing lifespan significantly, wipe down the tub after each use to prevent water spots and soap residue buildup.
Common Mistakes to Avoid When Preparing for Reglazing
The most frequent preparation mistake is incomplete rinsing. Homeowners clean thoroughly but leave cleaning solution residue on the surface, creating a barrier between the tub and the new coating. After any cleaning step, rinse at least twice more than you think necessary.
Rushing the drying process causes similar problems. Water trapped in pores or crevices prevents proper coating adhesion. Allow at least 4 hours of drying time, preferably overnight, before the refinishing technician arrives.
Mixing cleaning products is dangerous and ineffective. Combining vinegar with CLR creates toxic fumes and reduces effectiveness. Use one cleaning approach at a time, rinse completely, and allow drying before applying a different product.
Overlooking caulk removal is another common error. Old, damaged caulk creates an uneven surface that prevents smooth coating application. Using abrasive tools on acrylic tubs causes permanent damage that shows through the new coating. Ignoring mold or mildew growth allows it to spread beneath the new coating, trapping moisture and spores underneath.
Final Inspection Before Professional Reglazing
Before the refinishing technician arrives, conduct a thorough inspection of your prepared tub. Run your hand across all surfaces; you shouldn’t feel any residue, grittiness, or sticky spots. Inspect the drain, overflow, and around all fixtures. Check the caulk line one more time to ensure any remaining old caulk is removed completely.
Verify that the tub is completely dry by using a clean, dry cloth to wipe all surfaces one final time. Check that all cleaning supplies and debris have been removed from the bathroom. The technician needs clear access to the tub and surrounding areas. Document the tub’s condition with photos before the technician arrives to provide a clear record of the starting point.
Proper bathtub preparation requires time and attention to detail, but it’s the most important step in ensuring your reglazing lasts and looks professional. Century BathTubs has been helping Toronto and GTA homeowners restore their bathrooms since 1995. Our trained, licensed, and insured technicians work only on properly prepared surfaces, ensuring the EP-ACRYLIC coating bonds completely and lasts for years. Contact Century BathTubs today for a free inquiry and learn how our three-year hassle-free guarantee protects your investment.
| Preparation Step | Duration | Key Focus |
|---|---|---|
| Surface debris removal | 15-20 minutes | Hair, loose soap scum |
| Vinegar and baking soda cleaning | 30-45 minutes | General soap scum, light deposits |
| Hard water deposit treatment | 20-30 minutes | Mineral buildup, CLR application |
| Caulk removal | 15-25 minutes | Old, damaged caulk only |
| Final rinse and dry | 30-60 minutes | Complete moisture removal |
| Final inspection | 10-15 minutes | Surface texture, cleanliness verification |
According to bathroom renovation guides from the National Association of Home Builders, proper surface preparation accounts for up to 80% of refinishing success. Research from coating adhesion studies in the Journal of Protective Coatings and Linings confirms that contamination on substrate surfaces is the leading cause of coating failure. For professional reglazing services in the Toronto area, Century BathTubs refinishing specifications provides detailed preparation guidelines that ensure optimal coating performance and durability.
Frequently Asked Questions
Do I need to remove old caulk before reglazing a bathtub?
Yes, removing old caulk is essential when preparing bathtub for reglazing. Damaged or deteriorated caulk can trap moisture and prevent the new coating from adhering properly to the surface. Use a caulk removal tool or utility knife to carefully scrape away old caulk from seams and edges. This step ensures the reglazing material bonds correctly and lasts longer.
What is the best cleaner to use before bathtub reglazing?
The best approach combines multiple cleaning solutions. Start with white vinegar and baking soda paste to remove soap scum and light mineral buildup. For hard water deposits and stubborn stains, use commercial cleaners like CLR or Bar Keepers Friend according to product instructions. Always rinse thoroughly with water after each cleaning step to remove all residue before reglazing begins.
How long does bathtub reglazing last with proper preparation?
Proper preparation directly impacts durability. With thorough cleaning and correct surface preparation, professional reglazing using EP-ACRYLIC coating systems can last three years or longer. Poor preparation, such as incomplete cleaning or failure to remove old caulk, significantly reduces the lifespan. Preventative maintenance, including gentle cleaning and prompt repairs, extends the life of your refinished surface.
What happens if you don't prep a bathtub properly before reglazing?
Inadequate preparation causes coating failure, peeling, and premature discoloration. If soap scum, hard water deposits, or old caulk remain on the surface, the new reglazing material cannot adhere properly. This leads to surface damage, reduced durability, and the need for costly repairs or complete refinishing. Professional preparation ensures the coating bonds securely and performs as intended.
This article was written using GrandRanker